How to Fix Teamviewer Not Connecting in Windows 10
TeamViewer has its own success story, yet it does not mean it will not have any errors. Many users are facing TeamViewer not ready to check your connection issue. If you visit the TeamViewer support page, you will come to know how bad the situation is. Here are a few reasons that cause TeamViewer not ready to check your connection problem.
How to Fix Teamviewer Not Connecting in Windows 10 Method 1: Restart PC Method 2: Disable TeamViewer Process Method 3: Restart TeamViewer Service Method 4: Delete TeamViewer from the Host File ( If Applicable) Method 5: Reset Winsock Method 6: Disable IPV6 Method 7: Change DNS Address Method 8: Modify LAN Settings Method 9: Update or Rollback Network Drivers Method 10: Add Exclusion in Firewall/Antivirus Method 11: Reinstall TeamViewer
The first thing you have to check is whether you have a stable internet connection. If you have old routers and receivers, you may face the said problem. Run a ping test, restart your router or reset it if necessary. If your antivirus program or Windows Defender Firewall is blocking TeamViewer from the list of blocked programs, you will face TeamViewer not ready to check your connection problem. Add exclusions in the antivirus/ firewall program or disable them to resolve the problem. If the current version of TeamViewer is not compatible with your PC, there are more chances that you may face TeamViewer not connecting issue. Switching to the older interface of TeamViewer will prevent the said problem. To fix the bug, TeamViewer releases regular updates to improve the application. If you have an outdated application, you may face TeamViewer not ready to check your connection issue. Update TeamViewer regularly to resolve the said problems.
We have compiled a list of methods to resolve TeamViewer not connecting problem. The methods are arranged from basic to advanced level; hence if you need quicker results, follow them in the same order.
Method 1: Restart PC
Before trying the rest of the methods, you are advised to reboot your system. In most cases, a simple restart will fix the issue without any challenging layouts. So, try to reboot your system by following any of the below-mentioned methods and checking if you face the problem again. Alternatively, you can fully shut down the system using the Power options and turn it on again.
- Navigate to the Start menu.
- Now, select the power icon. Note: In Windows 10, the Power icon is found at the bottom. Whereas in Windows 8, the Power icon is located at the top.
- Several options like Sleep, Shut down, and Restart will be displayed. Here, click on Restart.
Method 2: Disable TeamViewer Process
You can fix TeamViewer not a connecting problem, by disabling all TeamViewer processes and relaunching the application. Here are a few steps to disable the TeamViewer processes via Task Manager.
Launch Task Manager by hitting Ctrl + Shift + Esc keys simultaneously.
In the Task Manager window, click on the Processes tab.
Now, search and select TeamViewer tasks that are unnecessarily running in the background.
Finally, select End Task as depicted in the above picture and reboot your PC and launch TeamViewer again. Also Read: Fix Remote Desktop Won’t Connect in Windows 10
Method 3: Restart TeamViewer Service
You can restart the TeamViewer service by stopping the service once and starting it again after a few minutes. Here are a few steps to restart the TeamViewer service.
Press the Windows + R keys together to open the Run dialog box.
Type services.msc and hit the Enter key to launch the Services program.
Now, in the Services window, scroll down and search for TeamViewer service and click on it.
Now, click on Properties as depicted in the picture below. Note: You can also double-click on the TeamViewer service to open the Properties window.
Now, set the Startup type to Automatic, as shown below. If the Service status is not Running, click on the Start button. Note: If the Service status is Running, Stop it for a while and start it again.
Finally, click on Apply > OK to save the changes. Check if you have fixed the issue.
Method 4: Delete TeamViewer from the Host File ( If Applicable)
If you have a corrupt TeamViewer entry in the host file, you will face TeamViewer not ready to check your connection problem. To resolve this, delete the TeamViewer section from the host file as instructed below.
Press Windows + E keys together to open Windows Explorer.
Now, switch to the View tab and check the Hidden items box in the Show/hide section.
Now, go to the following path from the address bar of the File Explorer. C:\Windows\System32\drivers\etc
Now, select and right-click on the hosts file and select Open with option as shown.
Now, select the Notepad option from the list and click on OK as depicted.
The hosts file will be opened in Notepad as follows:
Now, click on Ctrl + F keys to open Find window. Here, type Teamviewer in the Find what field and click on Find Next as shown.
If you did not get any search results, it means you do not have any corrupt TeamViewer files on your PC. If you find the #Teamviewer section, right-click on it and delete them.
Now, save the file by clicking on Ctrl+ S keys together.
Exit Notepad and check if you have fixed TeamViewer not ready check your connection issue. Also Read: How to Enable Telnet in Windows 10
Method 5: Reset Winsock
Resetting the Winsock directory to its default settings will resolve TeamViewer not connecting issue. If you cannot log in to TeamViewer, follow this method to resolve the same.
Press the Windows keys, type command prompt, and click on Run as administrator.
Then, type the following commands one by one in the command window and hit Enter after each command.
Finally, wait for Winsock reset completed successfully message and check if you have fixed the issue now.
Method 6: Disable IPV6
Even though IPv6 has added advantages over IPv4, there are a few limitations to it. However, if your system does not adapt IPv6 protocol, then you will face TeamViewer not ready to check your connection problem. Hence, you are advised to disable IPv6 as instructed below.
Right-click on the network icon in the system tray and select Open Network & Internet settings.
Click Change adapter options.
Now, right-click on the active network adapter and click on Properties as shown.
4. Wi-Fi Properties window will pop up. Here, uncheck the Internet Protocol Version 6(TCP/IPv6) option.
- Finally, click OK to save the changes and Restart your PC. Also Read: Show Control Panel in WinX Menu in Windows 10
Method 7: Change DNS Address
Several users have reported that TeamViewer not ready check your connection issue will be fixed by changing the DNS address provided by your Internet Service Provider. You may use Google DNS address to tackle the issue and here are few instructions to change the DNS address of your PC.
Press the Windows key, type Control Panel and click on Open.
Set View by: > Large icons and click on the Network and Sharing Center from the list.
Next, click on the Change adapter settings hyperlink present in the left pane.
Right-click on your current network connection (e.g. Wi-Fi) and select Properties, as depicted.
5: Under This connection uses the following items: list, locate and click Internet Protocol Version 4 (TCP/IPv4).
Click the Properties button, as highlighted above.
Here, select Use the following DNS server addresses: option and enter the following: Preferred DNS server: 8.8.8.8 Alternate DNS server: 8.8.4.4
Click on OK to save changes.
Method 8: Modify LAN Settings
If you have an automatic change in LAN settings in your system, more often, you will face TeamViewer not ready check your connection problem. Thus, modify the settings to bring an adequate internet connection to the system.
Press the Windows key, type Control Panel, and click on Open.
Now, set the View by option to Category.
Select the Network and Internet settings.
Here, click on Internet Options as shown below.
Now, in the Internet Properties window, switch to the Connections tab.
Select LAN settings, as highlighted below.
Here, check the box Automatically detect settings and ensure Use a proxy server for your LAN box is unchecked. Note: You can enable the option again when you need it.
Finally, click on OK to save the changes and check if the issue is resolved. Also Read: 3 Ways To Kill A Process In Windows 10
Method 9: Update or Rollback Network Drivers
If the current drivers in your system are incompatible/outdated with the TeamViewer files, then you will face TeamViewer not ready check your connection. Therefore, you are advised to either update or roll back drivers to prevent the said problem. Option 1: Update Driver Here are the steps to update your network driver to fix Teamviewer not connecting issue.
Press the Windows key, type Device Manager, and click on Open.
Double-click on Network adapters to expand it.
Right-click on your wireless network driver (e.g. Qualcomm Atheros QCA9377 Wireless Network Adapter) and select Update driver, as depicted below.
Next, click on Search automatically for drivers to automatically download and install the best available driver.
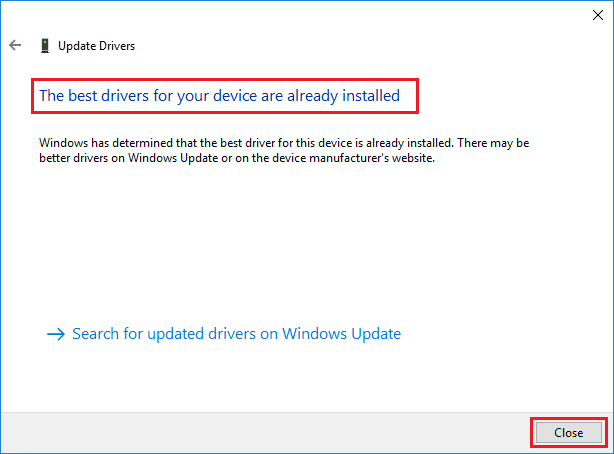
5A. Now, the drivers will update and install to the latest version, if they are not updated. 5B. If they are already in an updated stage, the message saying The best drivers for your device are already installed will be shown.
Click on the Close button to exit the window and restart your PC. Option 2: Roll Back Driver Updates Follow these steps to roll back driver updates to fix Teamviewer not connecting issue.
Go to Device Manager > Network adapters as earlier.
Right-click on your network driver (e.g. Intel(R) Dual Band Wireless-AC 3168) and select Properties, as depicted.
Switch to the Driver tab and select Roll Back Driver, as highlighted. Note: If the option to Roll Back Driver is greyed out, it indicates that your computer does not have the pre-installed driver files or it has never been updated.
Provide your reason for Why are you rolling back? in Driver Package rollback. Then, click on Yes, as illustrated below.
- Then, click on OK to apply this change. Finally, restart your PC.
Method 10: Add Exclusion in Firewall/Antivirus
If Windows Firewall is not causing a conflict with TeamViewer, the antivirus software on your system is likely blocking the TeamViewer client or vice-versa. You can add an exclusion for TeamViewer to fix the problem. Option I: Through Windows Security
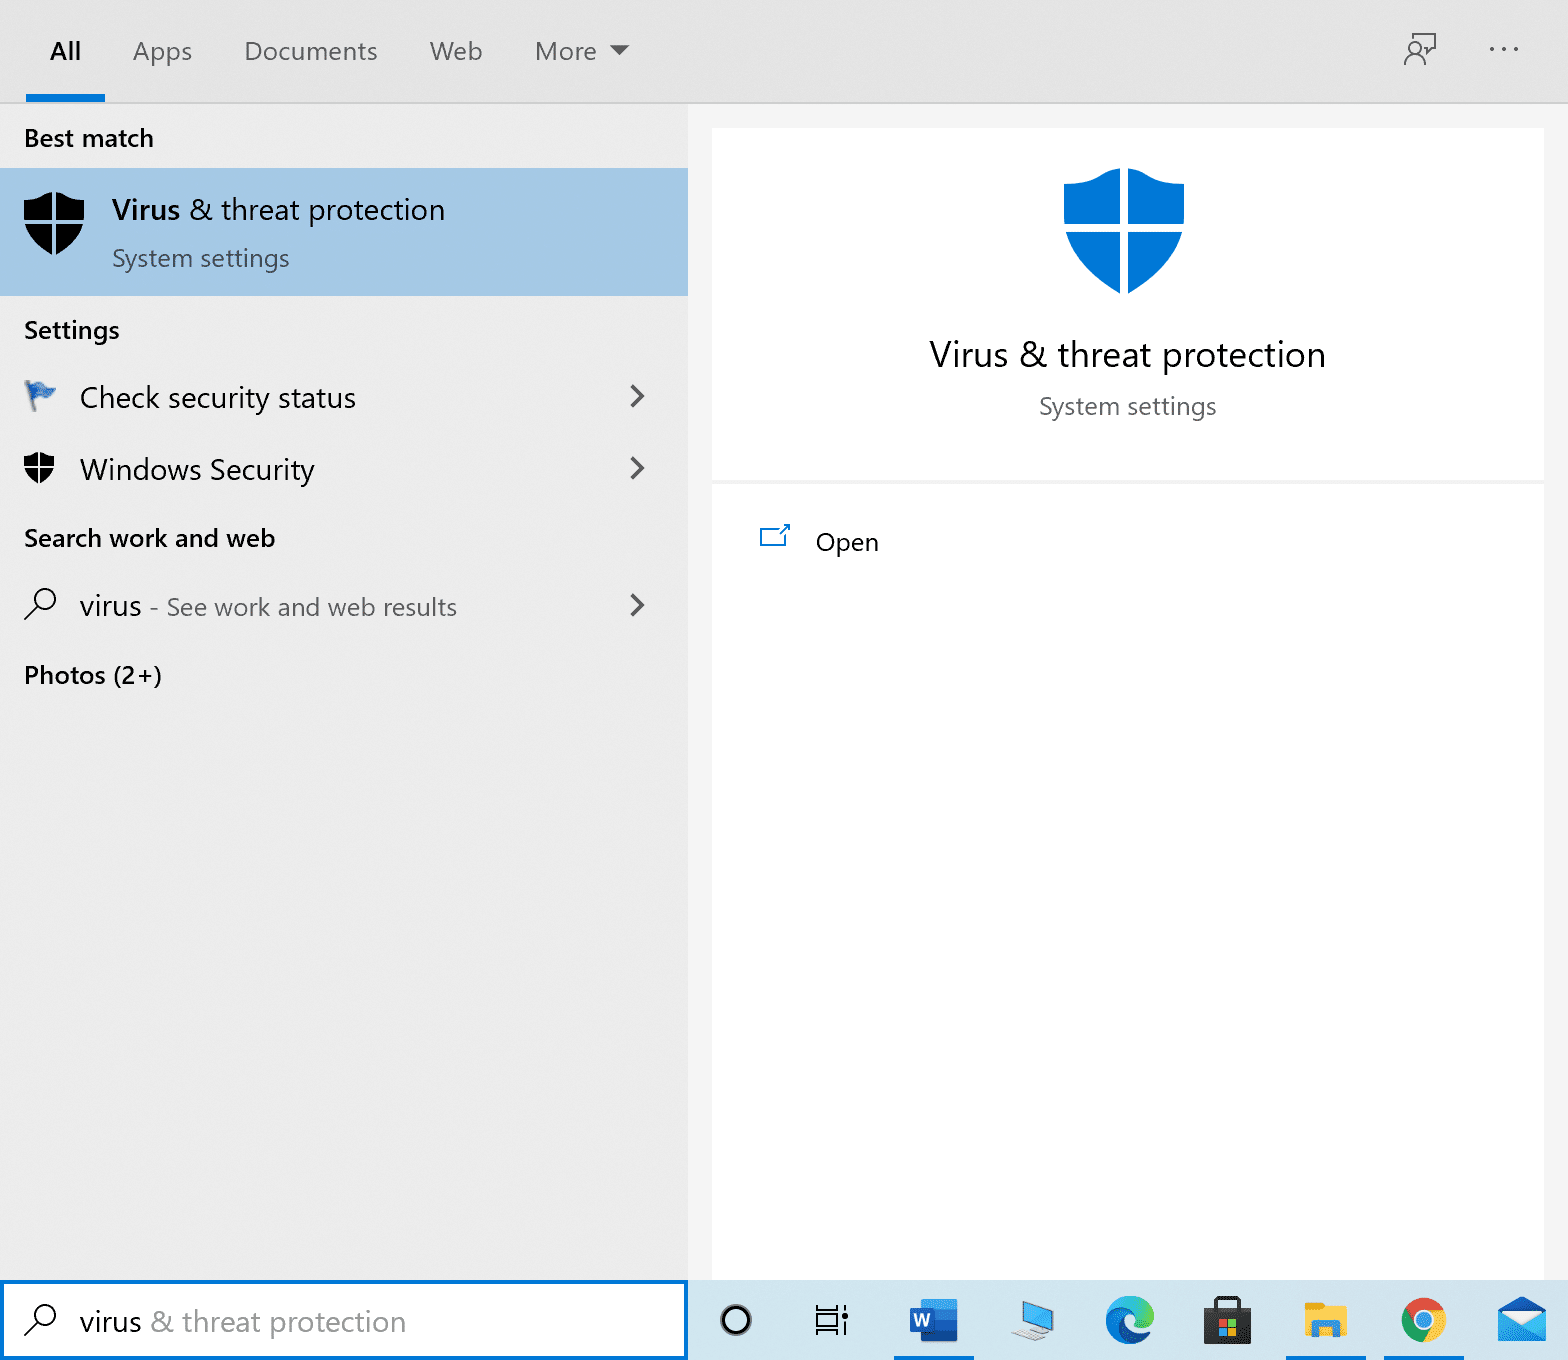
Hit the Windows key, type virus and threat protection, and press the Enter key.
Now, click on Manage settings.
Scroll down and click Add or remove exclusions as depicted below.
In the Exclusions tab, select the Add an exclusion option and click on File as shown.
Now, navigate to the file directory where you have installed the program and select Teamviewer file. Option II: Through Third-party Antivirus Note: Here, we have used Avast Free Antivirus as an example.
Launch Avast Antivirus. Click on the Menu option from the top right corner, as shown.
Here, click on Settings from the drop-down list.
Select General > Blocked & Allowed apps. Click on ALLOW APP under List of allowed apps section, as highlighted below.
Now, click on ADD > corresponding to TeamViewer to add it to the whitelist. Alternately, you may also browse for the Steam app by selecting the SELECT APP PATH option. Note: We have shown App Installer being added as an exclusion below.
Finally, click on ADD in the prompt to add the TeamViewer app to the Avast whitelist. Also Read: Fix Remote Desktop Won’t Connect in Windows 10
Method 11: Reinstall TeamViewer
If none of the methods have helped you, then try to reinstall the software if possible. All the settings and configurational setup will be refreshed when you reinstall TeamViewer, and hence there are more chances that you will attain a fix for Teamviewer not connecting problem.
Launch the Run dialog box by pressing the Windows + R keys together.
Type appwiz.cpl and click OK.
The Programs and Features utility will be opened up, and now search for TeamViewer.
Now, click on TeamViewer and select Uninstall option.
Now, if you are prompted, Are you sure want to uninstall TeamViewer? then click on Yes.
Restart your PC once you have completed all the steps mentioned above.
Download TeamViewer from the official website.
Now, navigate to My downloads and launch the TeamViewer setup file.
Follow the on-screen instructions to complete the installation on your PC. Finally, you have reinstalled TeamViewer on your computer. This would fix all the issues associated with the app. Recommended:
Fix Your connection was interrupted in Windows 10 How to Download, Install, and Use WGET for Windows 10 How to Fix Discord Camera Not Working Fix Zoom Audio Not Working Windows 10
We hope that this guide was helpful and you could fix TeamViewer not connecting in Windows 10. Feel free to reach out to us with your queries and suggestions via the comments section below. Let us know which topic you want us to explore next.


![]()